Welcome to Education Walkthrough! Setup takes about fifteen minutes, and when you are done you will be ready to complete your first classroom walkthrough. Here is the path.
1. Add Your Teachers
Go to the Teachers page and click Add Teacher to add teachers one at a time, or Import Teachers to bring in your whole roster by pasting a list or uploading a CSV. See Adding Teachers and How to Import Teachers.
2. Choose or Build a Template
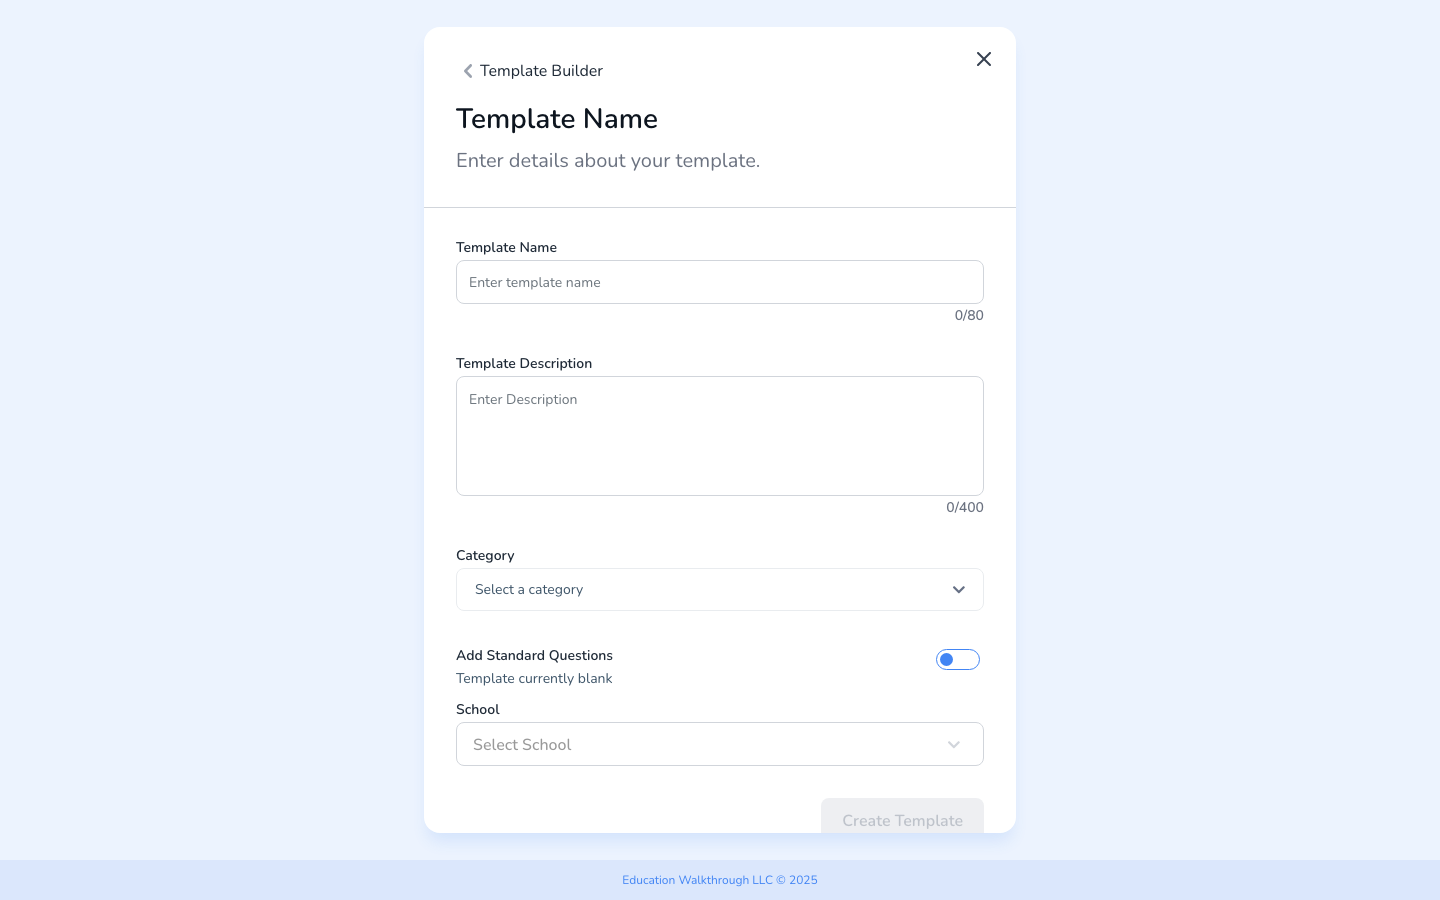
Go to Templates. You can Browse Templates to start from a pre-made framework contributed by the EW community, or Create Template to build your own. In the builder you give the template a name, description, and category, then either add standard questions or build from a blank template. Our Template Builder guide covers the details.
3. Add Your Signature
In Settings, click Edit Signature, draw your signature, and save. It will appear on every observation you complete, with a timestamp. Full steps in Add a Signature.
4. Complete Your First Walkthrough
Click the green Start Walkthrough button, choose a teacher and template, and follow the prompts. Our step-by-step guide to starting and completing a walkthrough takes it from there.
Once you are up and running
The four steps above get you observing. These next ones are the ones people wish they had done sooner, because they make your data and your team work properly.
- Set your school year dates. Under Settings, School year calendar, set when your year starts and ends. This is what tells Education Walkthrough which observations belong to this year, so the “walkthroughs this year” counts on your teacher list and your year-over-year comparisons line up with your actual calendar rather than a generic one. See How to Update Your School Year Calendar.
- Invite the rest of your team. Go to Users and click Invite Users. Observation data is far more useful when the whole leadership team is contributing to it, rather than one person. See How to Invite Multiple Users, and User Roles if you are not sure which role someone needs.
- Add your logo. Under Settings, District-Wide Settings, use Upload Logo to add your district logo. It appears on the reports you send out, which matters when a report leaves your building.
- Set your default email message. Under Settings, Sending Emails, edit the message teachers receive with their feedback, so you are not rewriting the same note every time. See Email a Completed Walkthrough to the Teacher.
- Group your teachers. If you run cohorts, such as first-year teachers or a coaching group, set them up now and every filter and report can use them later. See How to Create and Use Groups.
- Add teachers who work at more than one school. If you have itinerant staff, share them across their schools so their history stays in one place. See How to Share Teachers Across Multiple Schools.
None of these are required to start observing. Come back to them once your first few walkthroughs are done, and see How to Use Analytics in Education Walkthrough when you are ready to look at what the data is telling you.
FAQs
I was invited by my district. Is setup different?
Your district admin has likely set up schools, templates, and sharing already. Check with them before creating new templates, then jump straight to your first walkthrough.
Where do I manage my profile and preferences?
Settings holds your profile, email template, signature, language, and report preferences.