
When you email or print a completed walkthrough, the teacher receives it as a PDF. That PDF can carry your school or district logo and use the layout your team prefers, which matters when the document lands in a teacher’s mailbox or gets shared with district leadership. This article covers both: adding your logo and choosing the report layout.
There are two levels here, and it is worth knowing which one you are setting before you start:
- District-wide. The district logo is uploaded once under District-Wide Settings and appears on walkthrough PDFs for every school in the district.
- School only. A school’s own logo and its report layout are set per school under School Settings, and apply to that school alone. A school logo overrides the district logo on that school’s PDFs.
Add your district logo
The district logo is the default. It appears on walkthrough PDFs for every school in your district that has not uploaded its own logo.
- Go to Settings.
- Scroll to District-Wide Settings.
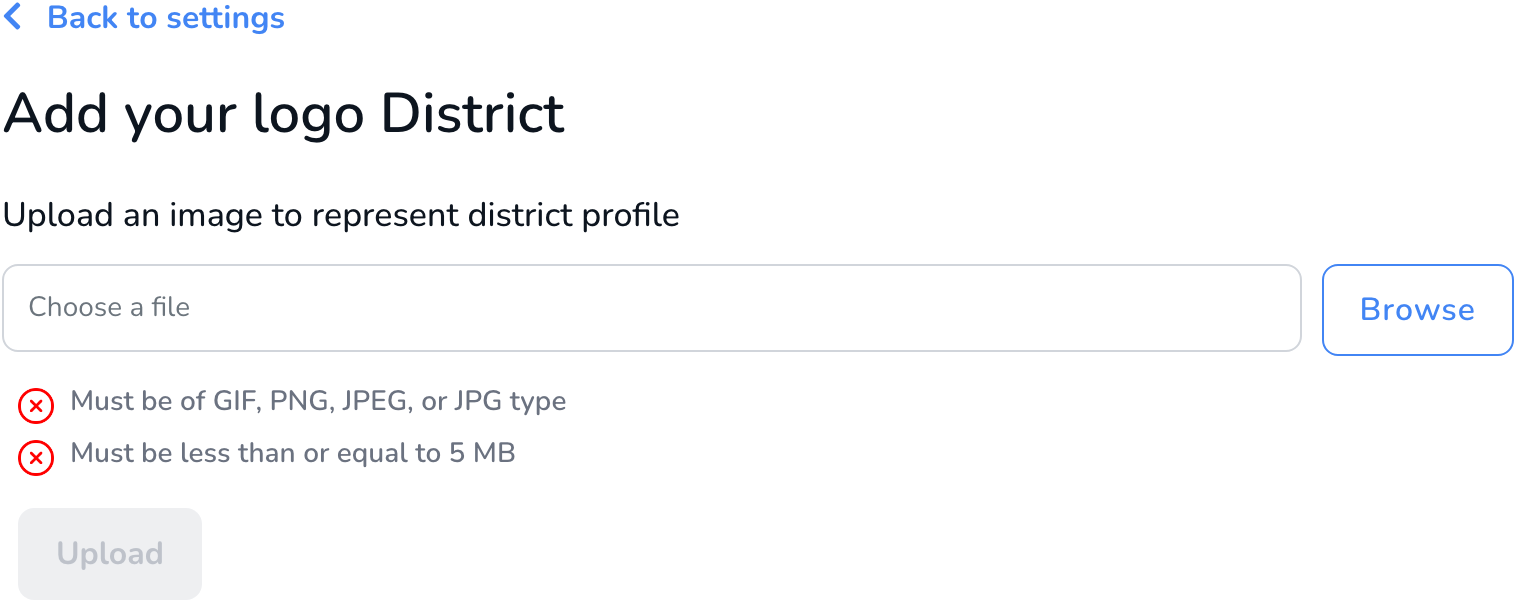
- Next to Add your district logo, click Upload Logo.

- Click Browse and choose your logo file. It must be a GIF, PNG, JPEG, or JPG, and 5 MB or smaller. The two checks under the file field turn green when your file qualifies.
- Click Upload.
Add a school logo and choose the PDF layout
Each school can have its own logo and its own report layout. Both live in the school’s settings.
- Go to Settings and scroll to School Settings.
- Pick the school from the Choose a School dropdown. The school’s settings appear below it.
- Next to Select standard report layout, click Choose layout.
That opens School Report Layout Settings, where everything about the walkthrough PDF lives in one place:
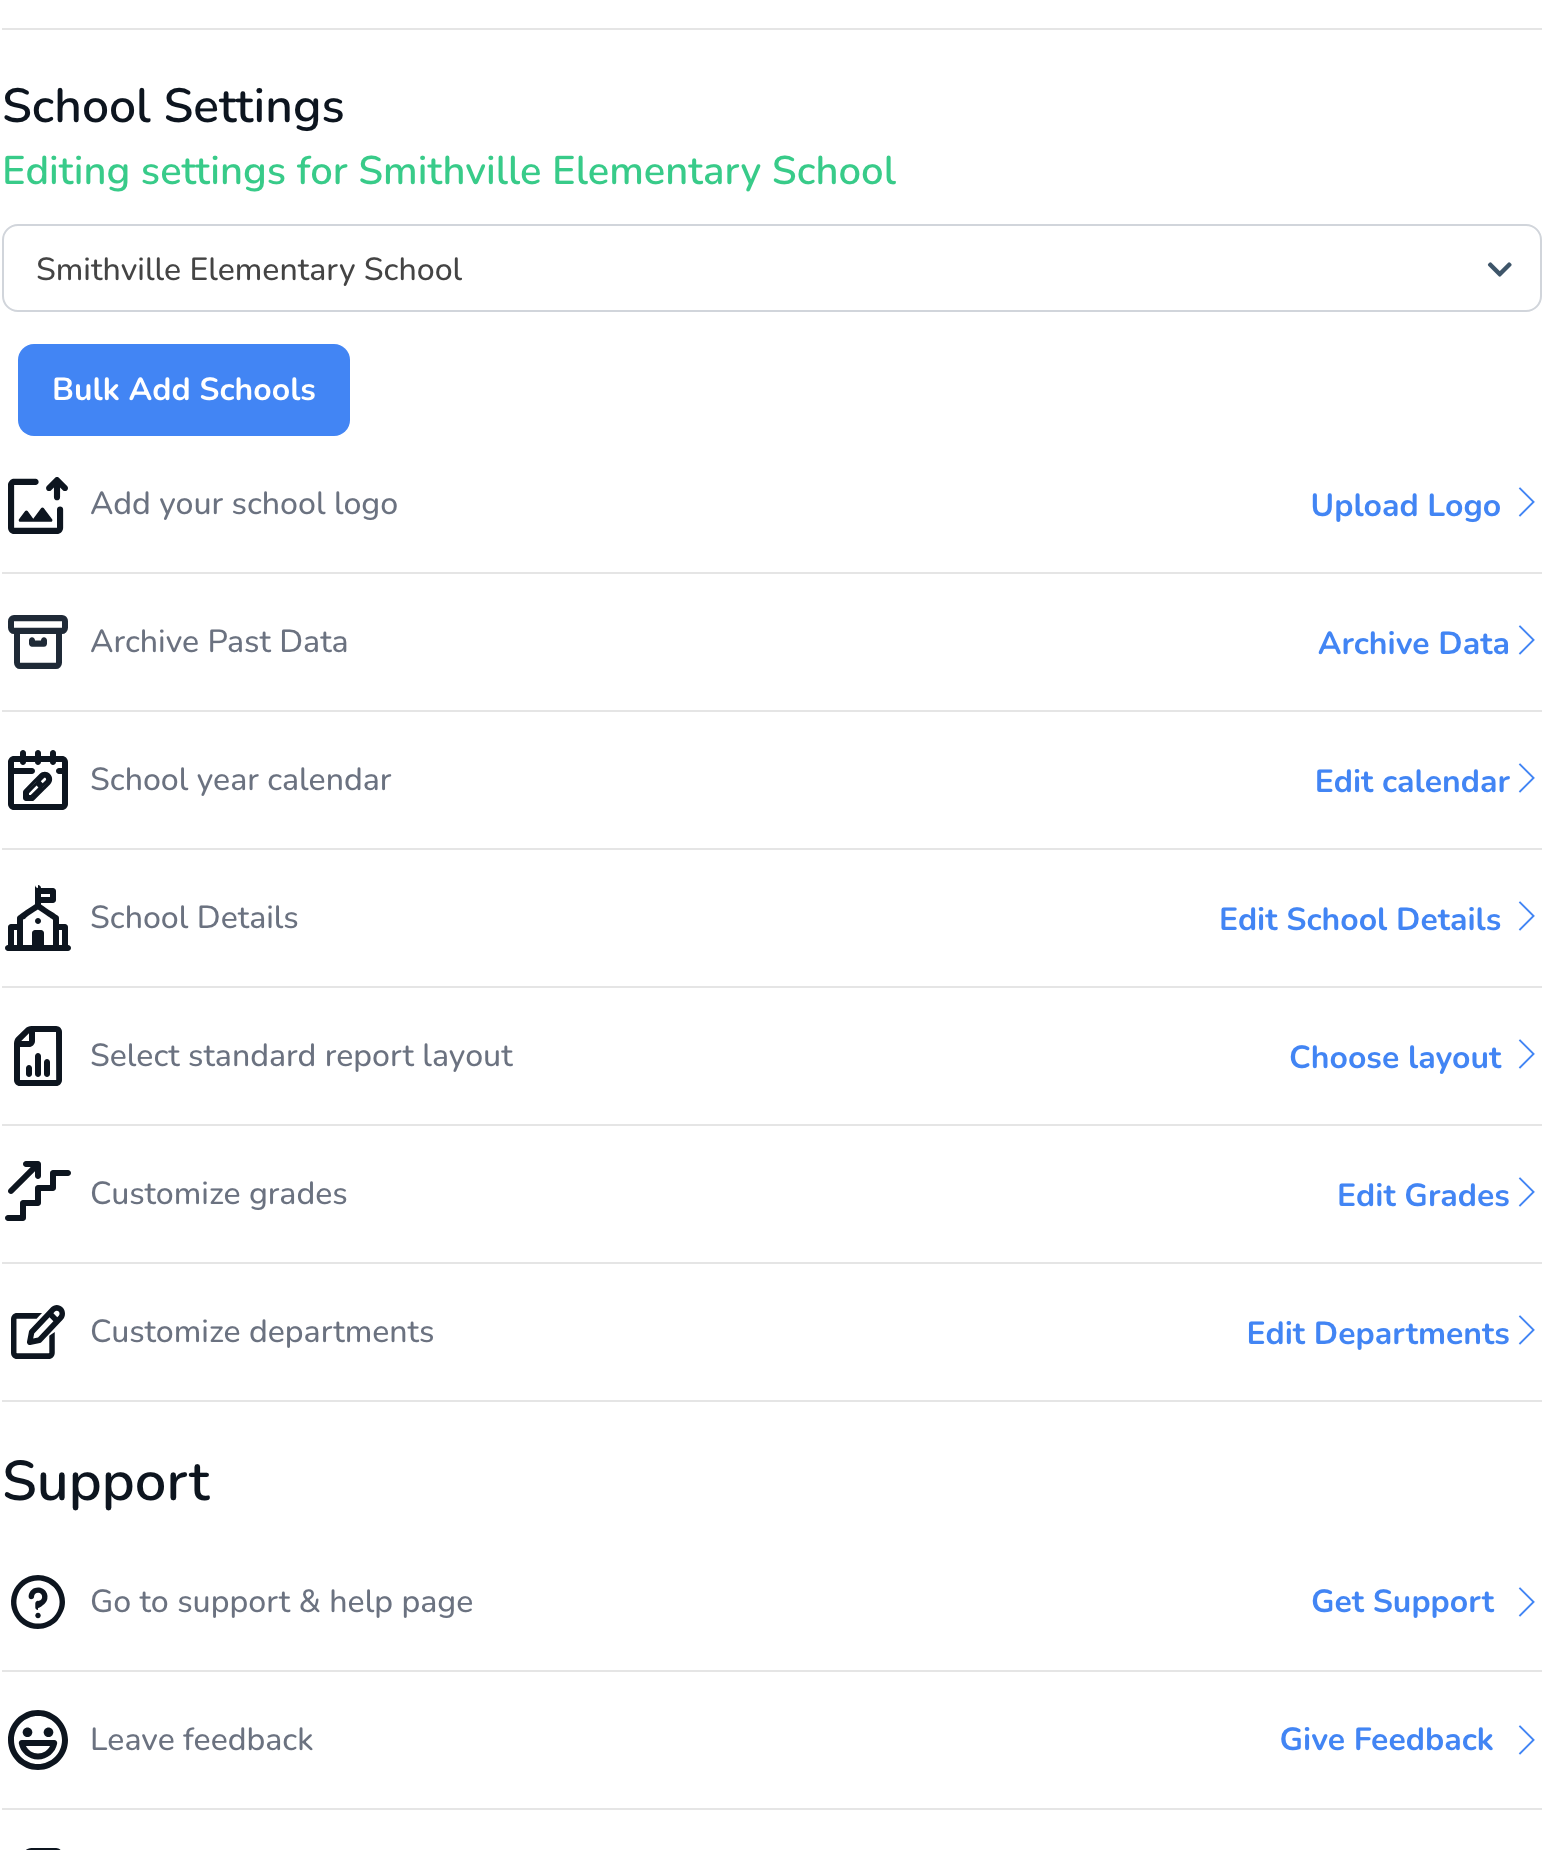
- Pick a Report Template. Five standard layouts are available. Click Preview Report under any of them to open a sample PDF of that layout before you commit.
- Upload your school logo. Same file rules as the district logo: GIF, PNG, JPEG, or JPG, up to 5 MB.
- Report Options. Two toggles: Signature adds the observer’s saved signature to the PDF, and Only Show Completed Questions keeps unanswered questions off the report.
- Make your choices, then click Save.
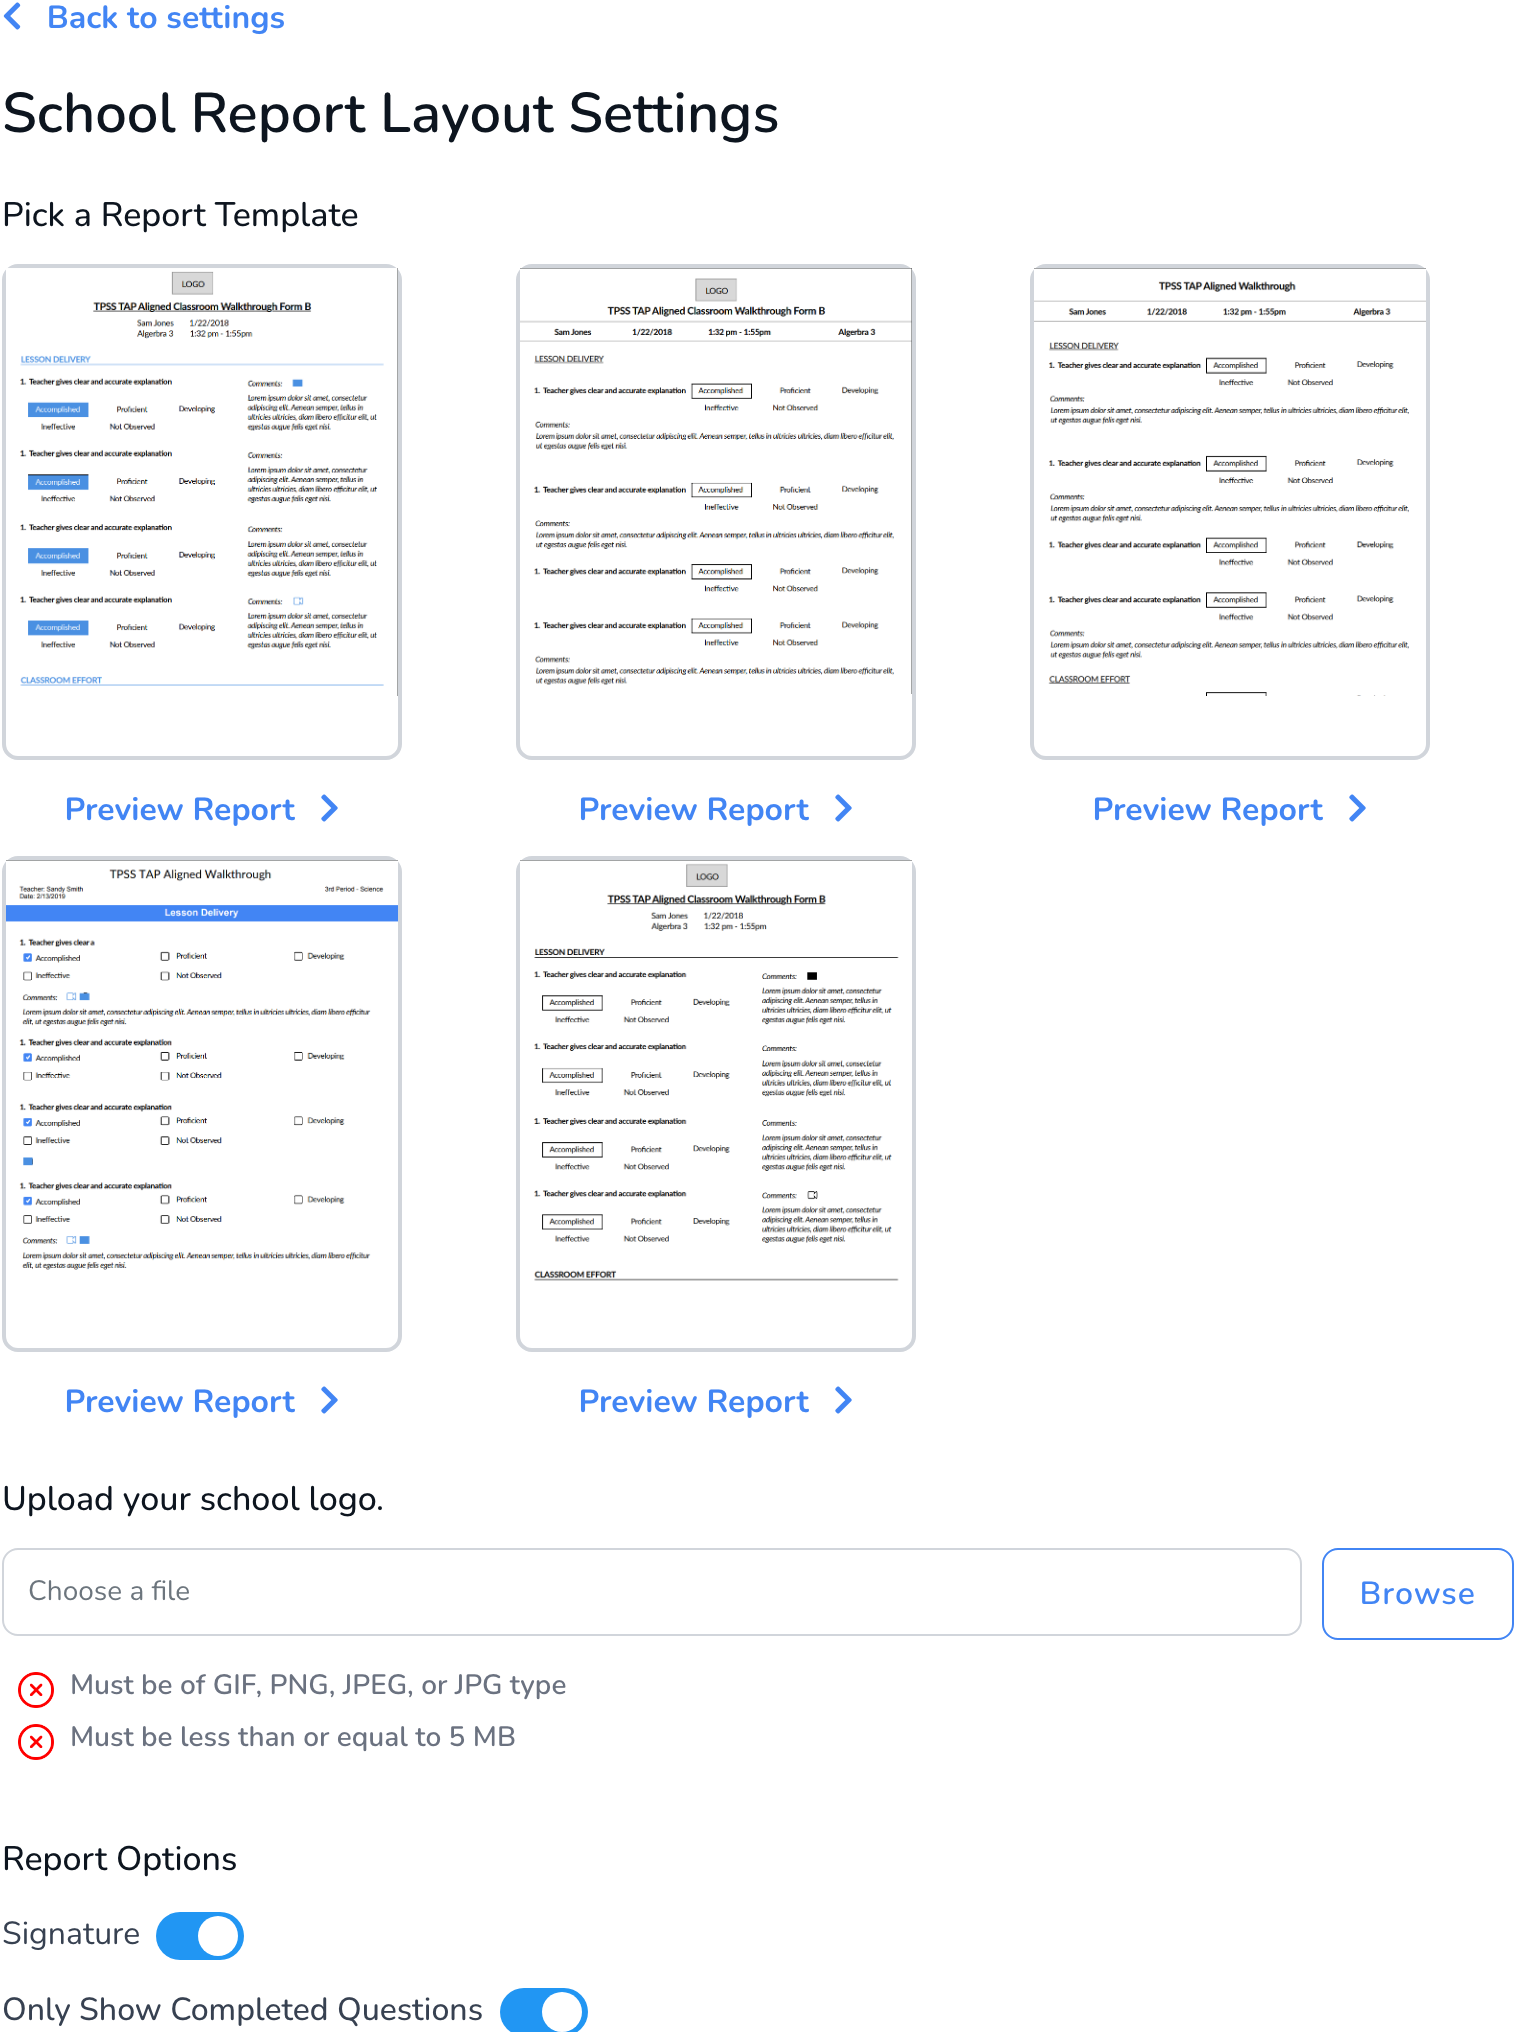
You can also upload the school logo without opening the layout page: in the same School Settings list, click Upload Logo next to Add your school logo.
FAQs
Q: My school has not uploaded its own logo. What shows on the walkthrough PDF?
The district logo. The PDF uses the school’s logo when one is uploaded and falls back to the district logo when it is not.
Q: Does the report layout apply to my whole district?
No. The layout is chosen per school. Select each school under School Settings and set its layout there.
Q: Where does the signature on the report come from?
From the observer’s saved signature. Each Administrator adds their own under Settings, User Settings, Signature. See Add a Signature.
Q: What file types can I upload for a logo?
GIF, PNG, JPEG, or JPG, up to 5 MB, for both the school and district logo.
Setting up your account for the first time? The wider checklist, including inviting your team and your default email message, is in Setting Up Your Account. And once your branded reports are going out, Email a Completed Walkthrough to the Teacher covers how teachers receive them.